How to change asynchronous serial COM port assignments in Windows Device Manager
Sealevel recommends using the installed COM numbers if at all possible to avoid system conflicts. If you previously installed a USB or PCMCIA serial interface, it will have resources assigned by the operating system. If the device is not currently connected to your computer, these COM assignments will not be apparent and forcing new COM port assignments will create a conflict when the devices are reconnected at a later time.
One scenario where you would have to change the COM port assignments is when your legacy application only works at COM1 through COM4 and the Sealevel serial device you installed comes in at COM5 or higher. Another scenario might occur when you install a multiport serial card and the COM port numbers are not assigned consecutively and you want them to appear consecutive.
In Windows 7, Vista, XP or 2000 operating systems, you can change the COM number assignment using Windows Device Manager. To change the COM port assignments in Device Manager, follow these basic steps:
1) Click the Start button.
2) Right-click on My Computer.
3) In the fly-out menu, click Manage.
4) In the Computer Management Window, click on Device Manager.
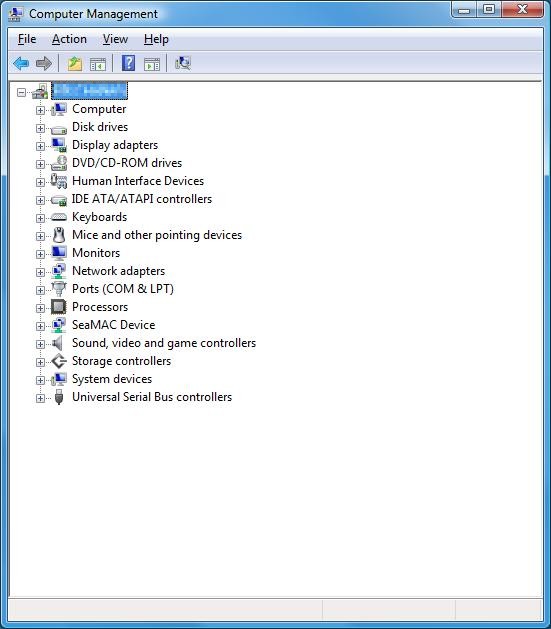
5) In the right-hand pane, expand the Ports (COM & LPT) listing by clicking the “+” symbol.
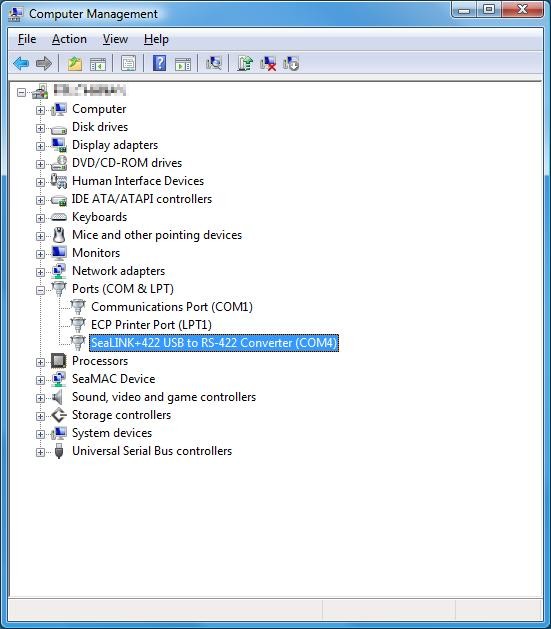
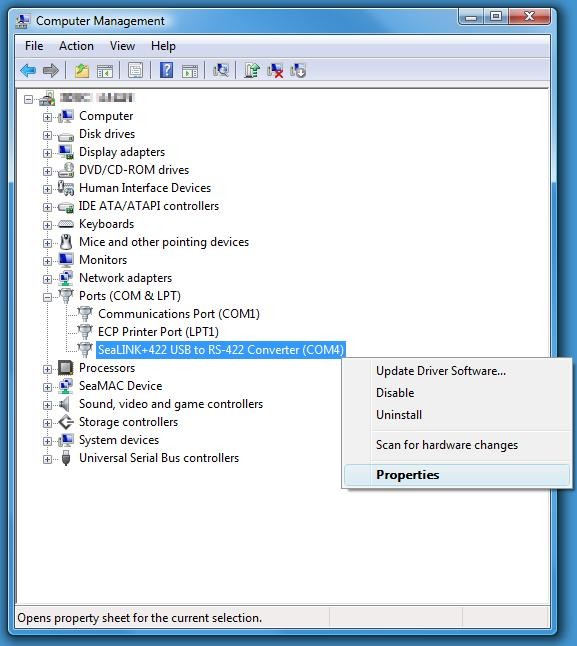
6) Right-click on the COM number you want to change and select Properties from the fly-out menu.
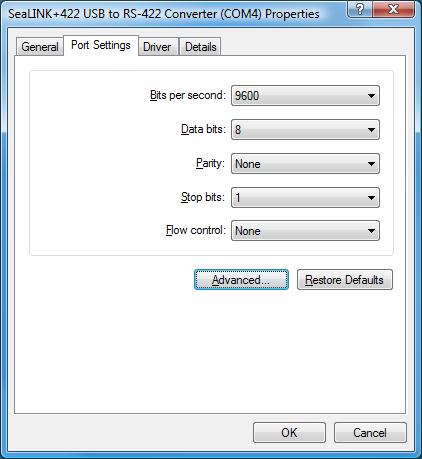
7) In the Communications Port Properties window, click the Port Settings tab and then click the Advanced button.
8) In the Advanced Settings window, you can select the new COM port number from the drop box (be careful not to select a COM number already in use).
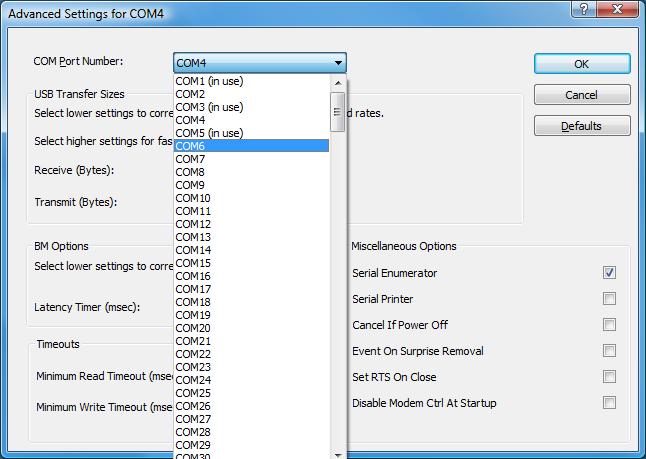
9) Click the OK button to confirm your changes. If Windows detects a conflict, choose another COM port number.
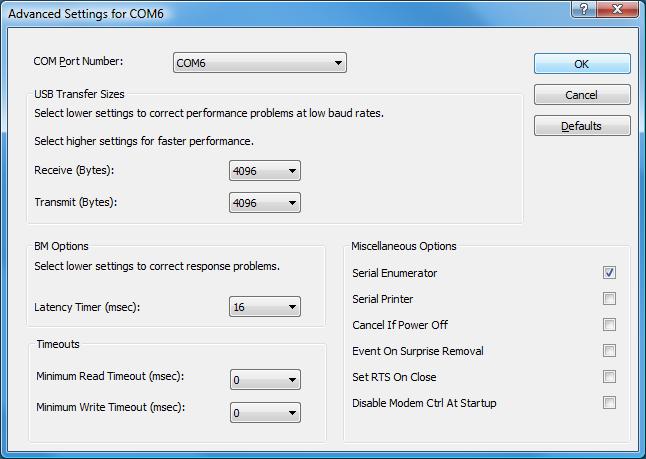
10) Click the OK button to close the Communications Port Properties window.
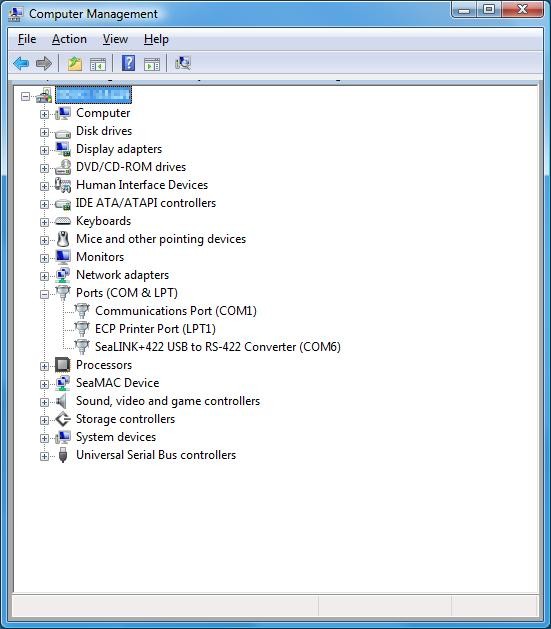
11) When Device Manager refreshes the hardware list, the COM assignment will reflect your changes. To get Device Manager to refresh the window on Windows XP, you may need to click ‘Action’ in the menu and then click ‘Scan for hardware changes’ in the sub-menu (Note: If ‘Scan for hardware changes’ isn’t listed in the sub-menu, click on the computer name in the right pane and then repeat this step).
Contact our technical support department if you are still experiencing problems with serial COM port assignments.
Categories:
